So many people are posting about all the things they are thankful for every day. I wish I could keep up with posting one every day, but it's just not possible in my current season of life...so here's my little thankful post for the season:
I'm thankful for big things in my life, things I can't life without. My Savior. He restores my soul. He forgives me. He loves me. He molds me continuously. He died and rose again so that I may spend eternity in His presence. I am undeserving and blessed. My husband, my perfect match. The only man on this planet who loves me just the way that I need it most. He's a strong man of God, quick to apologize and forgive, and an excellent father. I really don't know what I'd do without him. My precious son. My joy. Who knew how much richer life could be with a child? I can't even comprehend how much I love him and how thankful I am for his life. My family. From the youngest to the oldest, I love them all!
I'm thankful for extra comforts and blessings. Our fluffy puppy. My living foot warmer, companion, and constant watchdog. Our house. A continuous project that feels more like home with each project we complete. Our church. So thankful for pastors who preach the truth and members who have hearts to serve the Lord. My job. Oh, I have the best job title in the world: Wife and Mommy. Granted, it's 24/7 on duty, but worth every moment. True friends. They are hard to come by, but I am thankful for the ones I have. Distance and time can't separate us. We pick up right where we left off, no matter how long it's been since we last met. New friends. It's always fun getting to know new people and finding new friends who have the strangest things in common.
I'm thankful for things I take for granted too often. Food. Enough said. Convenience. Thankful for things like a washing machine, microwave, and air conditioning. Can you imagine life without all the conveniences we enjoy today? Prayer. Thank you, God, for listening to me. Christian radio. Because I don't want my kid listening to Miley Cyrus. Veterans. Thankful for those who have served in the past and who are serving now. They protect my freedom. They are so important. Freedom. I wonder sometimes why God allowed me to live this my life in this wonderful free country. What a blessing! May I not let my freedom go to waste. Opportunities to serve. It's incredible how many opportunities there are to pour love into the lives of others. It's overwhelming at times, but I'm thankful to be able help others.
I'm thankful for the small (big) things. My fireplace. Warm socks. Hershey's Kisses. Camping. Nights with no TV. Roses. Sweet smelling lotion and candles. Sweatshirts. Kleenex and Advil. Wireless. Sparkly nail polish. Long walks in the woods, on the beach, in my neighborhood (anywhere, really). Coupons, clearance, and free shipping. Swimming pools. Fast food. Not-so-fast food. Down comforters. Power steering and heated seats. Good movies. Luxury hotels. And my Mom's home cooking (especially Christmas tree cookies and made-from-scratch cinnamon rolls).
I'm especially thankful for that first group of Pilgrims who dared to leave all they knew, sailed across rough seas, nearly froze and starved, and watched their friends and children die of sickness and infection all so they could be free to worship our God without oppression and persecution.
It's not just about the turkey and football. Let's not forget.
Happy Thanksgiving!
November 24, 2013
November 23, 2013
Recipe: Honey Apple Pork
I recently experimented with some pork chops, using this recipe as a guide. The reviews were great! The pork is stuffed with apples and honey, topped with brown sugar and cinnamon, and baked in a combination of apples and apple-cider vinegar. It smells heavenly and tastes just as good!
Honey Apple Pork
Ingredients:
4 thick, defrosted port chops
2-3 apples (I used Granny Smith)
4 Tbsp honey (approx.)
3 Tbsp brown sugar (approx.)
2 Tbsp cinnamon (approx.)
3 Tbsp apple cider vinegar (approx.)
Directions:
1. Preheat oven to 350 degrees
2. On a cutting board, slice into the center of the pork chops, making sure not to cut all the way through (but deep enough to fit the apple slice).
3. Cut the apples into thin slices.
4. Place 10-12 apple slices in the bottom of your baking dish.
5. Place the pork on top of the apple slices and fill the slits with honey and at least 2 apple slices each.
6. Top with cinnamon and brown sugar to taste.
7. Pour apple cider vinegar in the bottom of the baking dish (optional). You could use some lemon-lime soda or apple cider instead of the vinegar if you prefer.
8. Bake for about 50 minutes, or until cooked thoroughly. Be careful not to overcook or it will be too dry.
9. Drizzle some of the juices and baked apples on top before serving.
Enjoy!
Honey Apple Pork
Ingredients:
4 thick, defrosted port chops
2-3 apples (I used Granny Smith)
4 Tbsp honey (approx.)
3 Tbsp brown sugar (approx.)
2 Tbsp cinnamon (approx.)
3 Tbsp apple cider vinegar (approx.)
Directions:
1. Preheat oven to 350 degrees
2. On a cutting board, slice into the center of the pork chops, making sure not to cut all the way through (but deep enough to fit the apple slice).
3. Cut the apples into thin slices.
4. Place 10-12 apple slices in the bottom of your baking dish.
5. Place the pork on top of the apple slices and fill the slits with honey and at least 2 apple slices each.
6. Top with cinnamon and brown sugar to taste.
7. Pour apple cider vinegar in the bottom of the baking dish (optional). You could use some lemon-lime soda or apple cider instead of the vinegar if you prefer.
8. Bake for about 50 minutes, or until cooked thoroughly. Be careful not to overcook or it will be too dry.
9. Drizzle some of the juices and baked apples on top before serving.
Enjoy!
November 20, 2013
DIY: Reupholstering Dining Chairs
Several years ago, an extremely kind coworker gave me her dining set. She was moving and gaveit to me practically brand new, refusing any payment, knowing that I could never afford a set as nice as this. I believe she knew the mere pennies I would be taking home as a new teacher and I think she felt a little sorry for me. Anyway, Susan, if you're reading this, thank you so much for the dining set! You can't even begin to know how many fun times have been had around this table.
Alas, the upholstered chairs are starting to show some wear. We had them professionally cleaned last year, but it didn't really do much good. They were ripe for some fresh upholstery. I finally got around to tackling the job a few weeks ago.
You can see the original, white upholstery on the left and the new upholstery on the right.
I chose a colored, striped fabric for a few reasons: (1) it's durable, (2) it'll help camouflage minor stains, (3) it matches the color scheme in my dining area, and (4) it was on sale.
See? These chairs have seen better days. It was starting to be just plain embarrassing.
To do this project I used the following tools, compliments of my husband: both types of screwdrivers, a staple gun, extra staples, a staple remover (which wasn't as effective as the flat-head screwdriver), scissors, and a hammer. Oh, and the fabric, too. I bought 3 yards, but ended up using only half of it for 4 chairs.
I measured how much fabric I would need to cover one cushion, adding a few extra inches to be safe. Then I cut it, laid it upside down, and chose which part of the pattern would be the center of my new cushion. You can see my hand here, showing the wide blue stripe as the middle.
I removed the seat cushion from the chair frame by simply removing 4 screws. Easy.
I placed the cushion on the table, checking my fabric placement again.
I stapled the new fabric right on top of the original upholstery. I used the original staples as a guide. That part was easy. I started in the front and center and moved toward the corners, pulling the fabric tight and even as I went along.
The corners were more difficult, as I'm not a professional. I played with the folds until I found one that would work. I could pretty easily replicate this fold on all the corners. I can't really explain how I did this, but I used many staples in the corners: pull in to place, staple, move a quarter of an inch, pull into place, staple again, and so on.
After I finished stapling, I hammered the staples flat (some were sticking up a little), and then I trimmed the excess fabric.
And here's how it looked when finished. You can see that in the end, I went with the green stripe as the middle. The corner folds aren't perfect, but I don't think they're too noticeable, either.
And here I checked to make sure that my lines were straight. The tricky part about upholstering with stripes is making sure they are perfectly straight. Remember the staple remover? Yeah, I had to pull them out and start again a few times. I did the best I could, and I'm pleased with how it turned out. :)
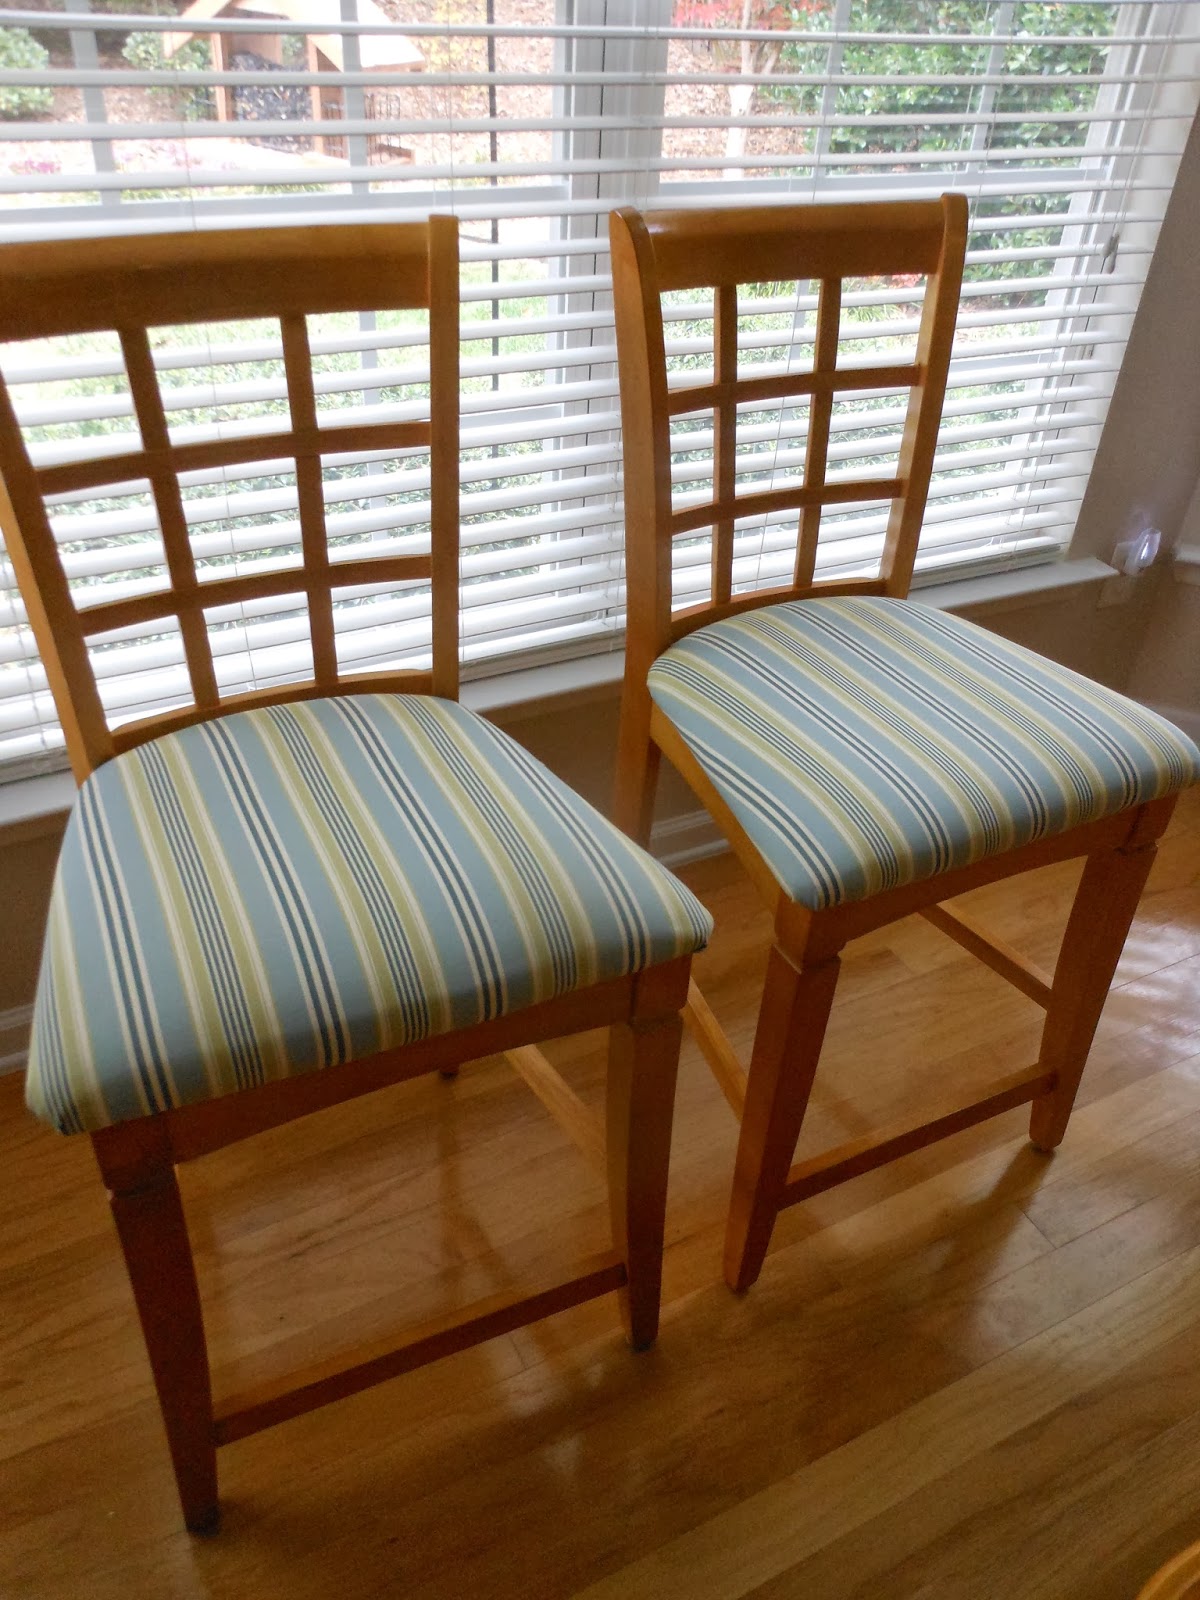
So there you have it, two of my newly reupholstered chairs! They feel so much fresher now.
You don't have to be a professional to do it yourself. With a little time and patience, you can save a lot of $$$!
Subscribe to:
Posts (Atom)