
Several years ago, an extremely kind coworker gave me her dining set. She was moving and gaveit to me practically brand new, refusing any payment, knowing that I could never afford a set as nice as this. I believe she knew the mere pennies I would be taking home as a new teacher and I think she felt a little sorry for me. Anyway, Susan, if you're reading this, thank you so much for the dining set! You can't even begin to know how many fun times have been had around this table.
Alas, the upholstered chairs are starting to show some wear. We had them professionally cleaned last year, but it didn't really do much good. They were ripe for some fresh upholstery. I finally got around to tackling the job a few weeks ago.
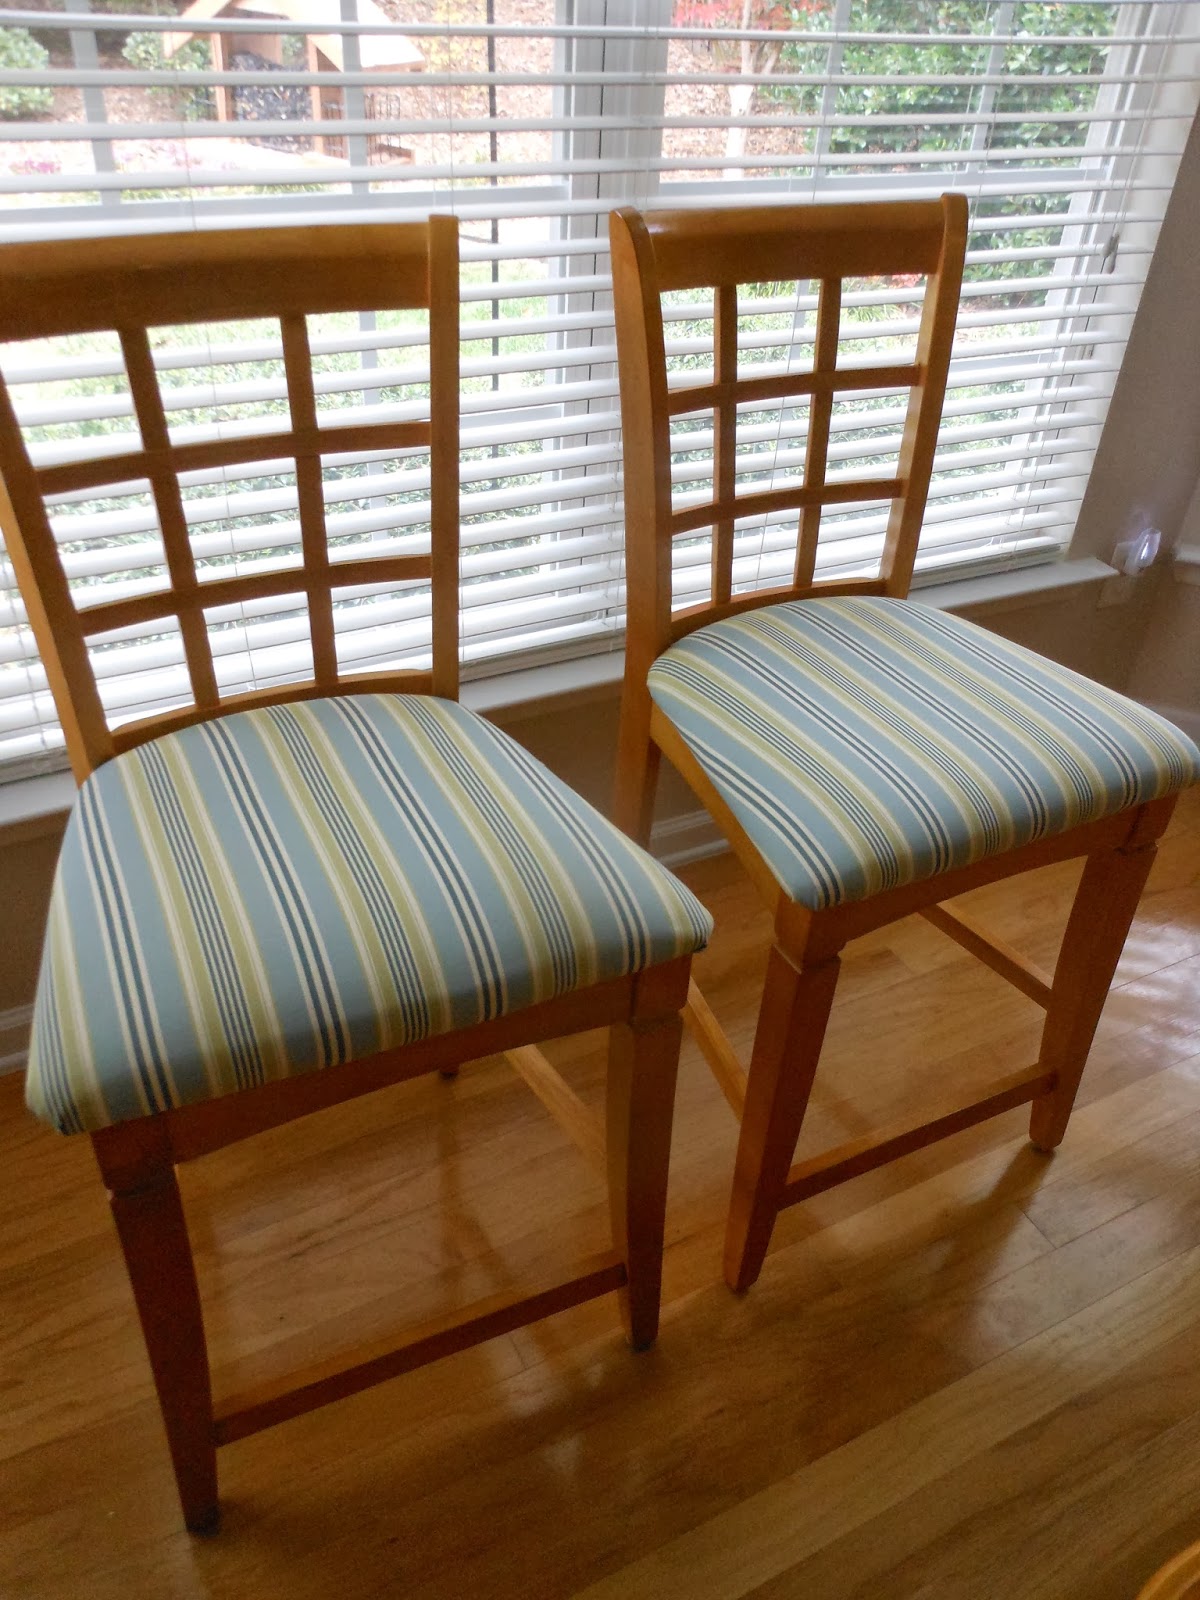
You can see the original, white upholstery on the left and the new upholstery on the right.
I chose a colored, striped fabric for a few reasons: (1) it's durable, (2) it'll help camouflage minor stains, (3) it matches the color scheme in my dining area, and (4) it was on sale.

See? These chairs have seen better days. It was starting to be just plain embarrassing.

To do this project I used the following tools, compliments of my husband: both types of screwdrivers, a staple gun, extra staples, a staple remover (which wasn't as effective as the flat-head screwdriver), scissors, and a hammer. Oh, and the fabric, too. I bought 3 yards, but ended up using only half of it for 4 chairs.

I measured how much fabric I would need to cover one cushion, adding a few extra inches to be safe. Then I cut it, laid it upside down, and chose which part of the pattern would be the center of my new cushion. You can see my hand here, showing the wide blue stripe as the middle.

I removed the seat cushion from the chair frame by simply removing 4 screws. Easy.

I placed the cushion on the table, checking my fabric placement again.

The corners were more difficult, as I'm not a professional. I played with the folds until I found one that would work. I could pretty easily replicate this fold on all the corners. I can't really explain how I did this, but I used many staples in the corners: pull in to place, staple, move a quarter of an inch, pull into place, staple again, and so on.

After I finished stapling, I hammered the staples flat (some were sticking up a little), and then I trimmed the excess fabric.
And here's how it looked when finished. You can see that in the end, I went with the green stripe as the middle. The corner folds aren't perfect, but I don't think they're too noticeable, either.

And here I checked to make sure that my lines were straight. The tricky part about upholstering with stripes is making sure they are perfectly straight. Remember the staple remover? Yeah, I had to pull them out and start again a few times. I did the best I could, and I'm pleased with how it turned out. :)

So there you have it, two of my newly reupholstered chairs! They feel so much fresher now.
You don't have to be a professional to do it yourself. With a little time and patience, you can save a lot of $$$!
No comments:
Post a Comment
Comments appreciated. I'd love to hear from you!